Start a web application with React & Flux
🎥 You can watch a full video tutorial on how to create your React application with Context.API and Flux following this template.
Quick Start
Create your first view, add it to your application routes, create your first component, add styles and use the context API.
Installation
Make sure to follow the steps on running the project first, then come back to this list, if you are using Gitpod or Codespaces it is possible that the project is already running.
Add your first view
It's time to add some code: Everything starts at the application layout (js/layout.js), this file is like a table of contents where all of your application pages will be added before they can be rendered by React and the browser, you can read more about React Router here.
We already added a few routes like Home, Demo and Single, these views are useful examples of the most frequent things you usually need in a project.
All of your application pages will be added into the js/pages folder, each of them will be a separate React component.
Let's open the <Demo> view at js/pages/demo.js.
Code your first HTML view
As you can see, the demo.js page is just a React component, here are additional things to notice:
- The component returns HTML.
- At the start of the component file (demo.js) there are two imports: The
AppContextthat will be used for dealing with any global information needed from other views or the application; And thedemo.cssthat will be used to add any CSS classes and styles used on this view in particular. - It's also important to mention that the AppContext is declared inside the component, on the very first couple of lines:
1const { store, actions } = useContext(Context);
Adding styles to views or components
All the application styles are saved inside the styles folder, we usually have a separate style for each component.
You can update the styles/index.css or create new .css files inside styles/ and import them into your current CSS or JS files depending on your needs.
For example, if you would want to create a class background-blue that makes the home background blue you need to do something like this:
- Add the class
.background-blueinto thestyles/home.css. - Use your class by adding the
<div className="background-blue">into your HTML page atjs/pages/home.js.
Creating your first component
Usually you want most of your HTML application to be split into components that can be re-used.
All the components are meant to be created into the js/components and then you can import them into the pages that will use them.
📝 We are using functional components (instead of class oriented components) since it's the best practice in the industry.
For example, if we want to add a new <Card> component that replicates the classic bootstrap card, we can create a js/components/Card.js with the following code:
1export const Card = () => (
2 const [state, setState] = useState('code here'); //using the state (if needed)
3 return <div className="card">
4   <div className="card-body">
5     <h5 className="card-title">Card title</h5>
6     <h6 className="card-subtitle mb-2 text-muted">Card subtitle</h6>
7     <p className="card-text">Some quick example text to build on the card title and make up the bulk of the cards content.</p>
8   </div>
9 </div>
10);
Adding components to our pages
Now that we have the Card component we can incorporate it to our Home.js page with the following steps:
- Import the component at the top of the page.
- Use the component
<Card>tag inside the HTML that your page returns, for example:
1import { Card } from "../component/Card.js";
2
3export const Home = () => {
4 const { store, actions } = useContext(Context);
5
6 return (
7  <div className="text-center mt-5">
8   <h1>Hello Rigo!!</h1>
9   <Card />
10  </div>
11 );
12};
Important notes
- It's important to use the curly brackets
{when importing the component like this:{ Card }. - Notice the
<Card />tag being used in line 9 of theHome.jsfile.
Using the Context
This boilerplate comes with a centralized general Context API. The file js/store/flux.js has a base structure for the store, we encourage you to change it and adapt it to your needs.
- React Context docs.
- 4Geeks Lesson about React hooks.
The Provider is already set. You can consume from any component using the useContext hook to get the store and actions from the Context. Check /views/demo.js to see a demo.
1import { Context } from "../store/appContext";
2
3const MySuperPage = () => {
4  //here you use useContext to get store and actions
5  const { store, actions } = useContext(Context);
6
7return <div>{/* you can use your actions or store inside the html */}</div>
8}
Publish your website
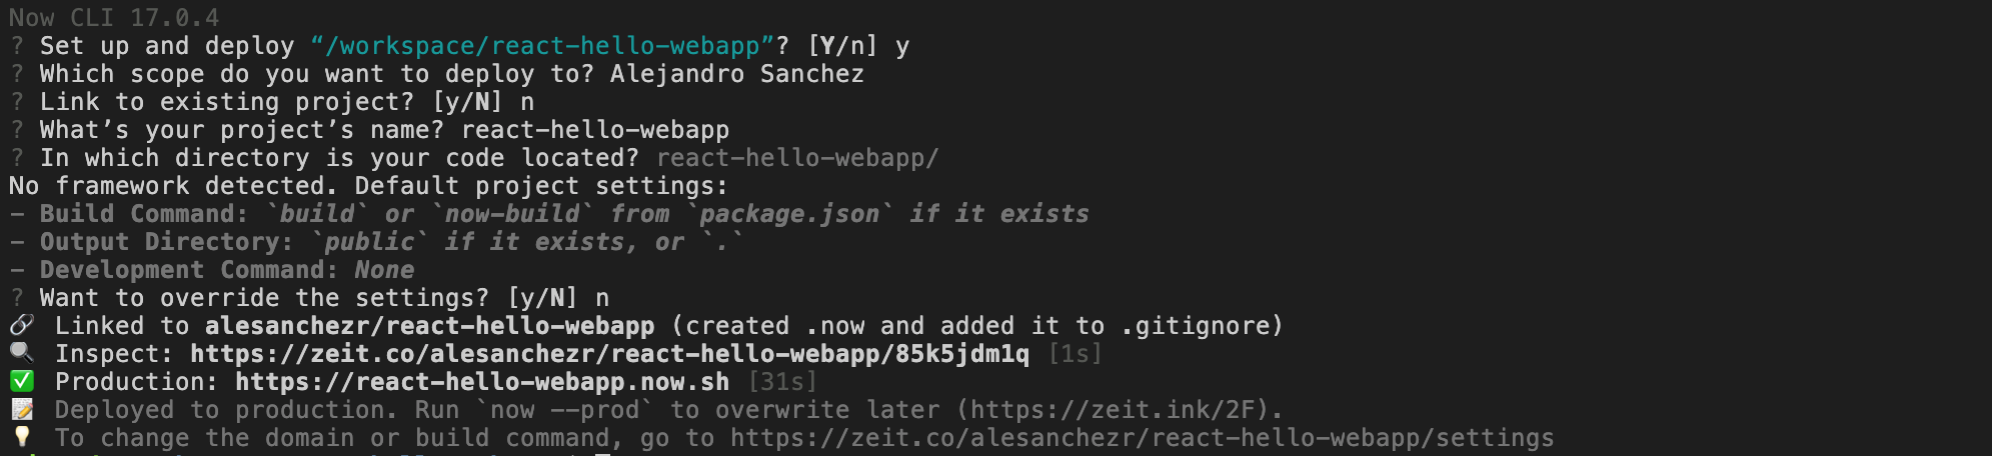
- Vercel: The FREE recommended hosting provider is vercel.com, you can deploy in 1 minute by typing the following 2 commands:
Login (you need to have an account):
1npm i vercel -g && vercel login
Deploy:
1vercel --prod
✎ Note: If you don't have an account just go to vercel.com, create an account and come back here.
- Github Pages: This boilerplate is 100% compatible with the free Github pages hosting. To publish your website you need to push your code to your Github repository and run the following command after:
1npm run deploy
👉 Note: You will need to configure Github pages for the branch gh-pages
Running the project
Note: Make sure you are using node version 14+
- Install the packages:
1npm install
- Create a .env file:
1cp .env.example .env
- Start coding and use the webpack dev server with live reload, for Windows, Mac, Linux or Gitpod:
1npm run start