Server security settings
Firewall Configuration
Firewalls are a key component in securing our servers, so as system administrators, it is necessary to know how to configure them. Remember that a firewall acts as a barrier between your server and potential external threats, controlling network traffic and allowing or blocking connections according to established rules.
In Linux, one of the most commonly used firewalls is iptables, a packet filtering tool integrated into the operating system kernel. However, iptables can be complex to configure due to its syntax and rules. For this reason, many Linux distributions have adopted more user-friendly firewall management tools, such as UFW (Uncomplicated Firewall) on Ubuntu and CentOS, or firewalld on Fedora.
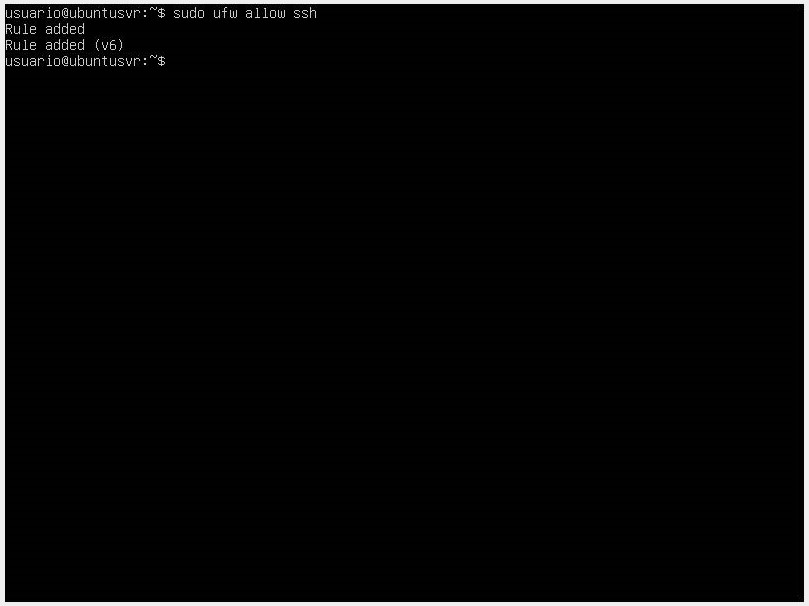
To configure a firewall using UFW, you can use simple commands that simplify the process. For example, to allow SSH traffic on your server, you can execute the command sudo ufw allow ssh. This will open port 22, the default port for SSH, and allow incoming connections.
In addition to allowing specific connections, you can also block unwanted ports using UFW. For example, to block traffic on port 80, you can execute the command sudo ufw deny 80. This will prevent any incoming or outgoing connection from using port 80.
Another commonly used tool for firewall configuration in Linux is firewalld. Firewalld provides both a command-line interface and a graphical interface to manage firewall rules. You can use commands like sudo firewall-cmd --add-service=ssh to allow SSH traffic, or sudo firewall-cmd --remove-service=http to remove an existing rule.
In addition to allowing or blocking specific ports, both UFW and firewalld allow you to configure more advanced rules, such as IP address filtering, address masquerading, or limiting simultaneous connections. These additional features allow you to further customize your firewall configuration according to your specific needs.
📖 It is important to understand the implications of the rules you set when configuring a firewall. Misconfiguring a firewall can block legitimate connections or allow unauthorized access. Therefore, it is advisable to have a good understanding of the rules and conduct thorough testing before implementing a firewall in a production environment.
For this practice, we will configure both UFW and firewalld.
UFW Installation
- The first step is to update the system packages with
sudo apt updateandsudo apt upgrade.
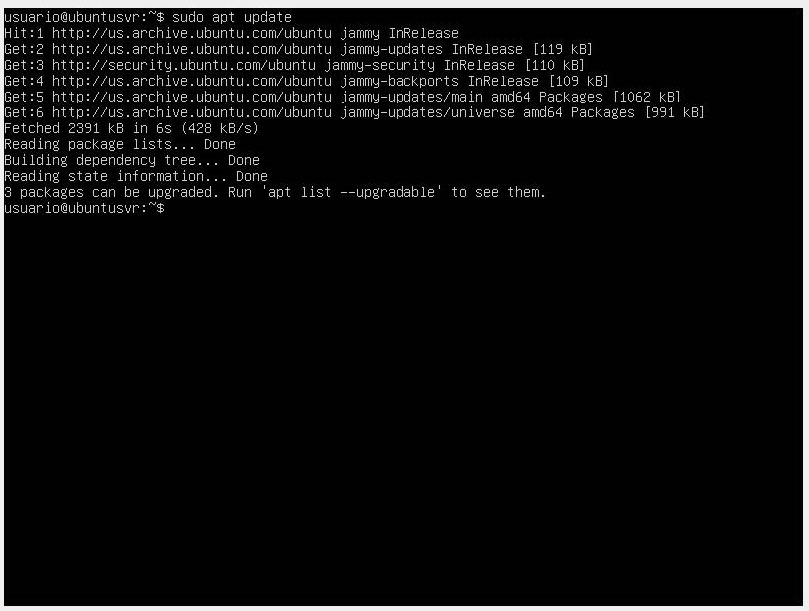
- Once updated, proceed to install our firewall with the command
sudo apt install ufw.
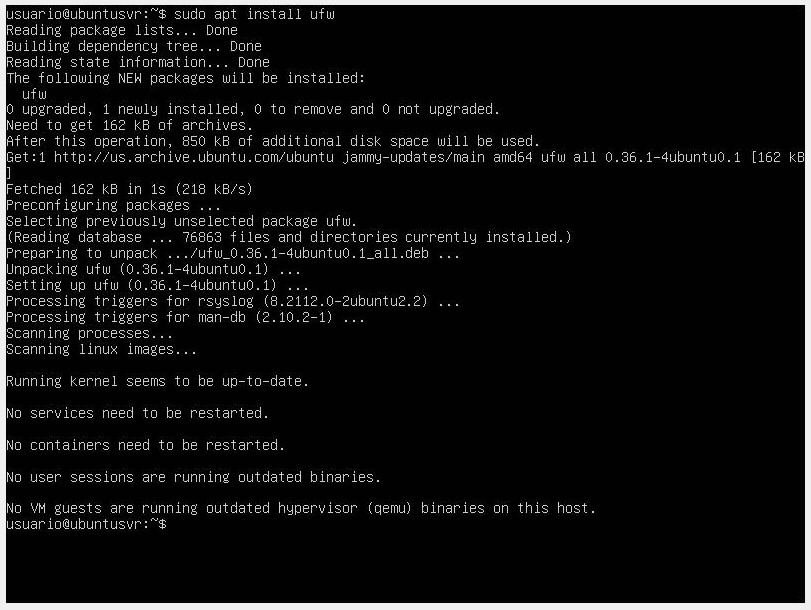
- Validate the current status of the firewall with the command
sudo ufw status.
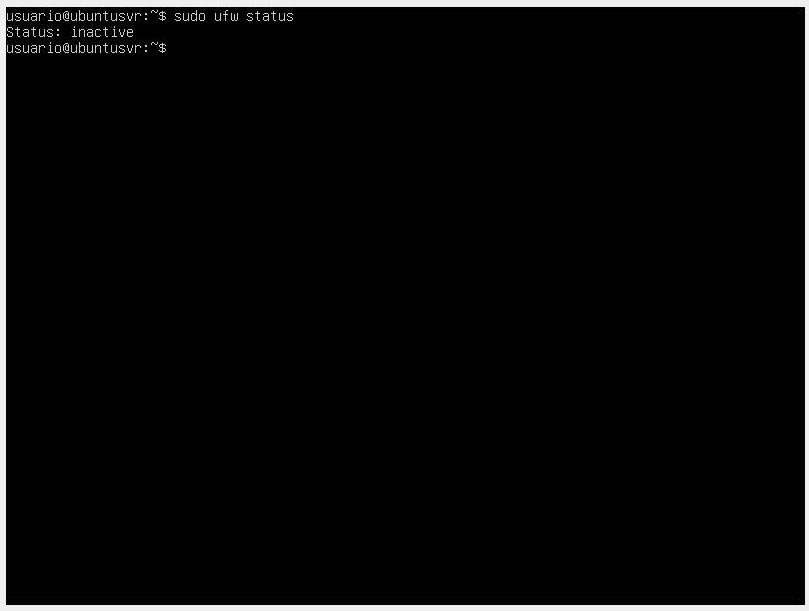
👉 We can see that the firewall is inactive or disabled, so the next step will be to enable it.
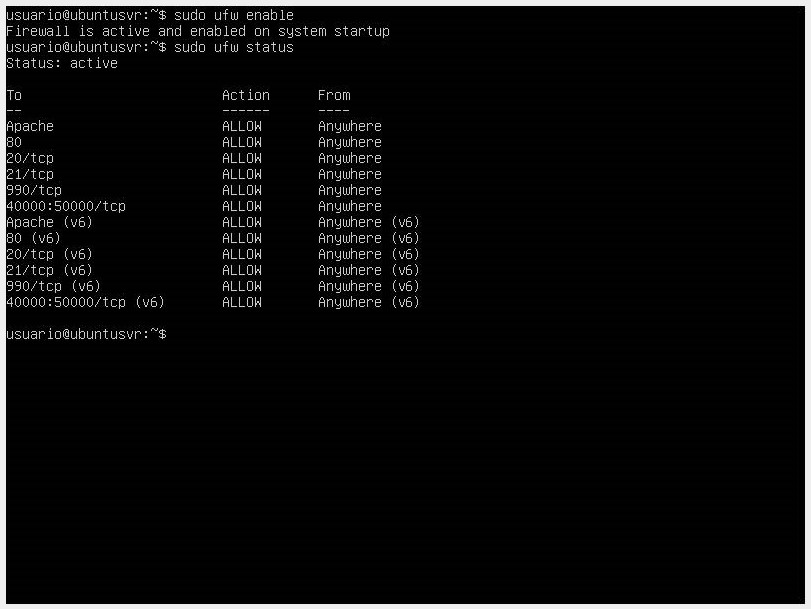
- Enable the firewall with the command
sudo ufw enable.
-
Once the command is executed, check its status again with
sudo ufw status. If you want to disable the firewall, use the commandsudo ufw disable. -
Configure the policies in the firewall. By default, UFW has rules to deny all incoming connections and only allow outgoing connections from the server, meaning no one can access the server and the running services or applications. These rules can be found in the path.
To edit the rules, use the commands sudo ufw default deny incoming and sudo ufw default allow outgoing.
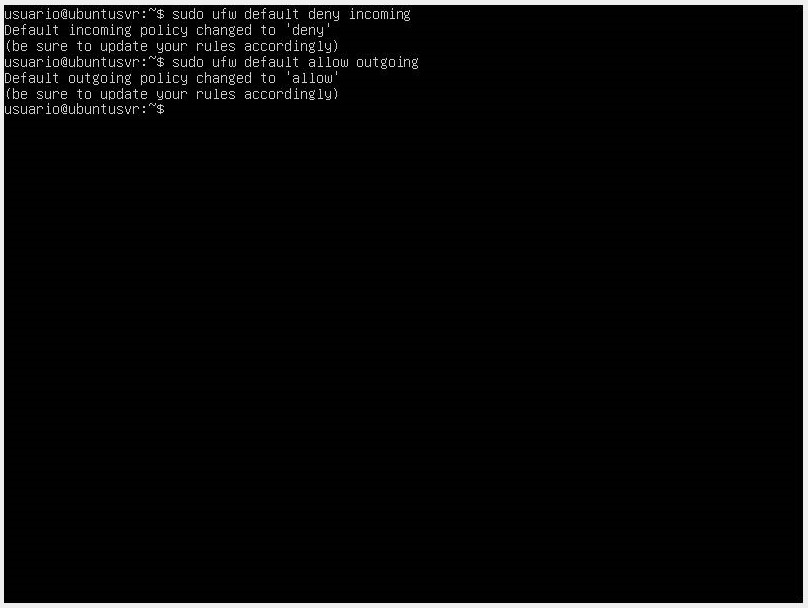
👉 When we install a package through our APT manager, an application profile is included in the /etc/ufw/applications.d directory, which defines the service and keeps the UFW configuration active.
- To list all application profiles, use the command
sudo ufw app list.
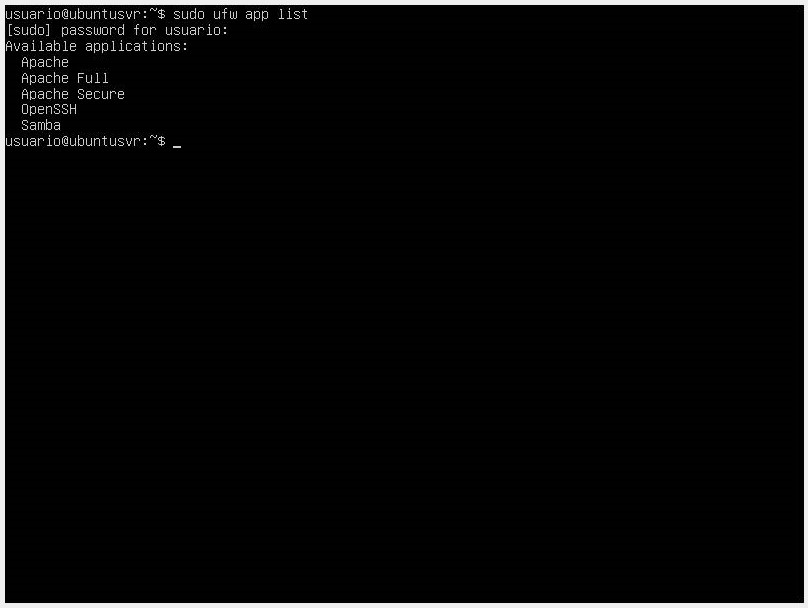
If you want to get more information about a specific profile and the rules defined for it, use the command sudo ufw app info "Application".
- The next step is to enable the services or ports that we want to allow in the firewall.
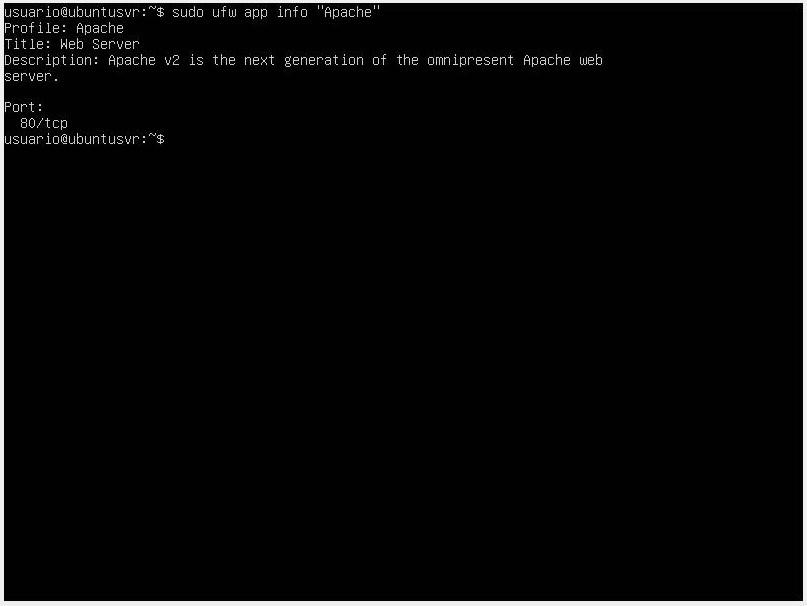
- If you want to allow services like SSH for remote connections, use the command
sudo ufw allow ssh. If you want to use a custom SSH port, use the commandsudo ufw allow port, and if you want to block an SSH connection, use the commandsudo ufw deny ssh/tcp.
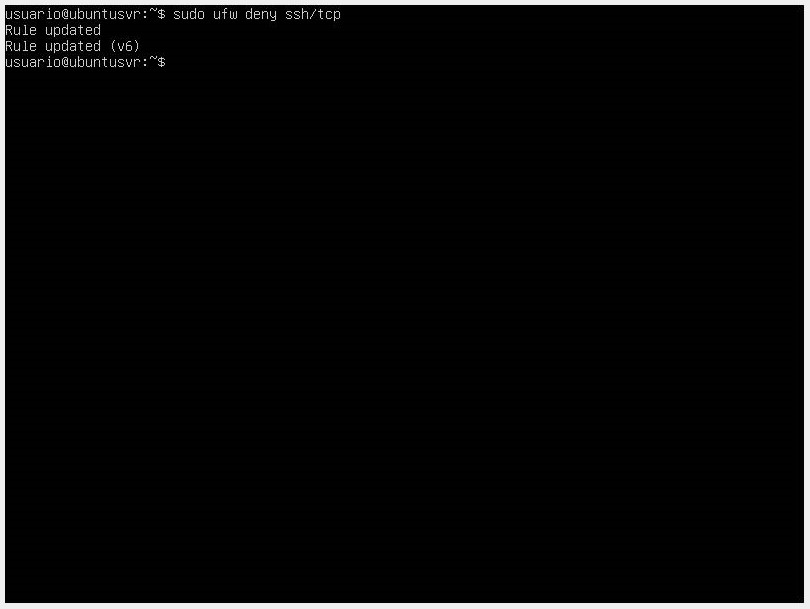
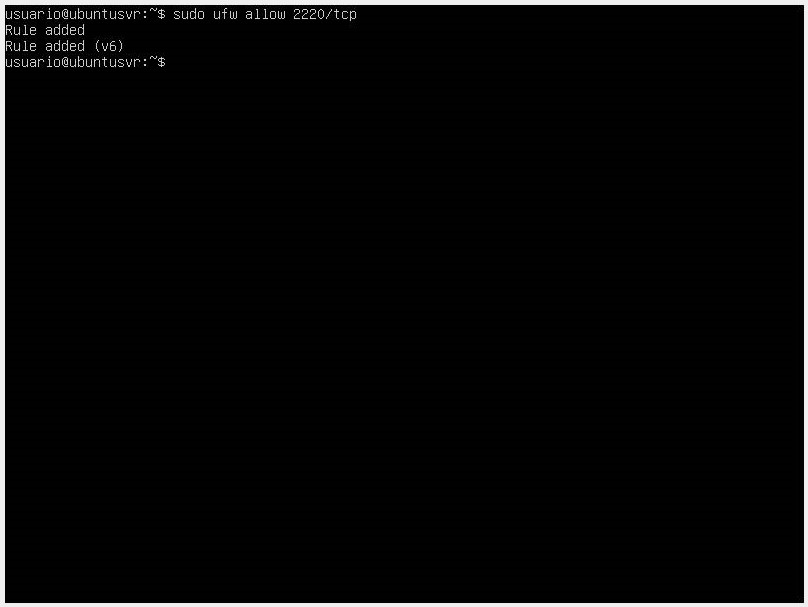
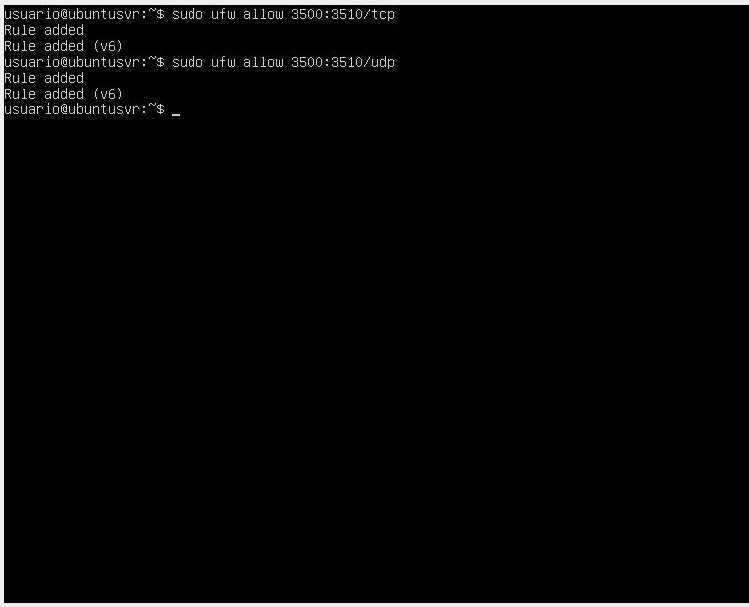
- If you want to allow applications that use a range of ports, use the command
sudo ufw allow <start_port:end_port>.
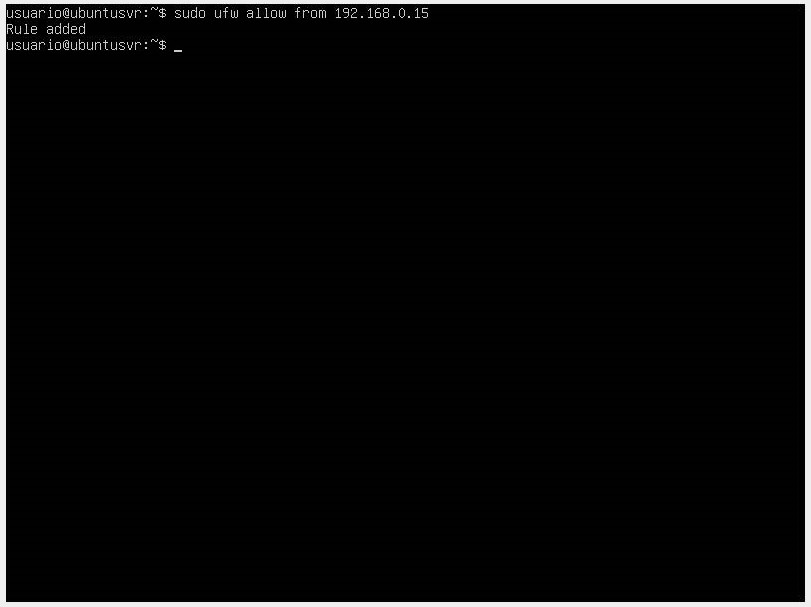
- You also have the option to allow access from a single IP address. To do this, execute the command
sudo ufw allow from <ip_address>. You can also specify that you want to receive traffic from a specific port using the commandsudo ufw allow ip_address to any port <port_number>.
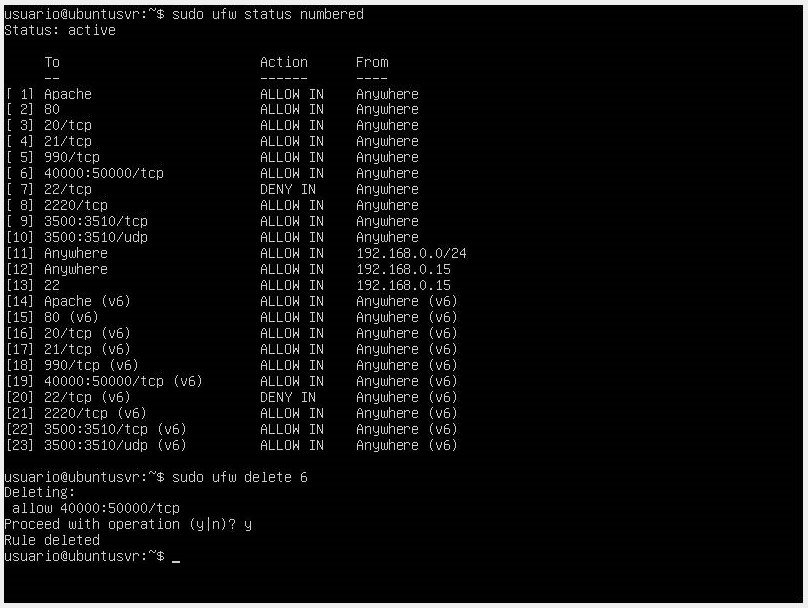
- If you want to delete firewall rules, the first thing you need to do is list the rules with the command
sudo ufw status numberedand then delete the rule using the commandsudo ufw delete <rule_number>. Another way would be with the commandsudo ufw delete <UFW_rule>.
User Management and Secure Authentication
We have previously talked about user management and secure authentication in Linux. These practices ensure the security and protection of systems, preventing unauthorized access and protecting confidential information.
In Linux, each user has a unique account that allows them to access the system and perform specific tasks. User management involves creating, modifying, and deleting these user accounts.
To create a new user in Linux, you can use the useradd command followed by the desired username. For example, sudo useradd <username> will create a new user account on the system. Then, you can set a password for the user using the command passwd <username>. It is important to use strong passwords that combine uppercase and lowercase letters, numbers, and special characters.
In addition to creating users, it is also important to assign them the appropriate permissions. In Linux, permissions are managed through the file system and user groups. You can use commands like chown and chmod to change the ownership and permissions of files and directories.
Secure authentication is another crucial aspect of user management on Linux servers. Using strong passwords is just the first step. It is also recommended to use two-factor authentication (2FA) to add an extra layer of security. This involves using a second authentication method, such as a code generated by a mobile app, along with the traditional password.
Additionally, it is important to ensure that authentication services, such as SSH (Secure Shell), are properly configured. You can modify the SSH configuration file in /etc/ssh/sshd_config to allow only secure connections and disable remote root access.
👉 Another recommended practice is to use authentication keys instead of passwords to access servers. This involves generating a pair of public and private keys, where the private key is stored on the client and the public key is added to the
~/.ssh/authorized_keysfile on the server. This allows for password-less authentication and is more secure than using passwords.
To configure our public and private keys for authentication within the server, follow these steps:
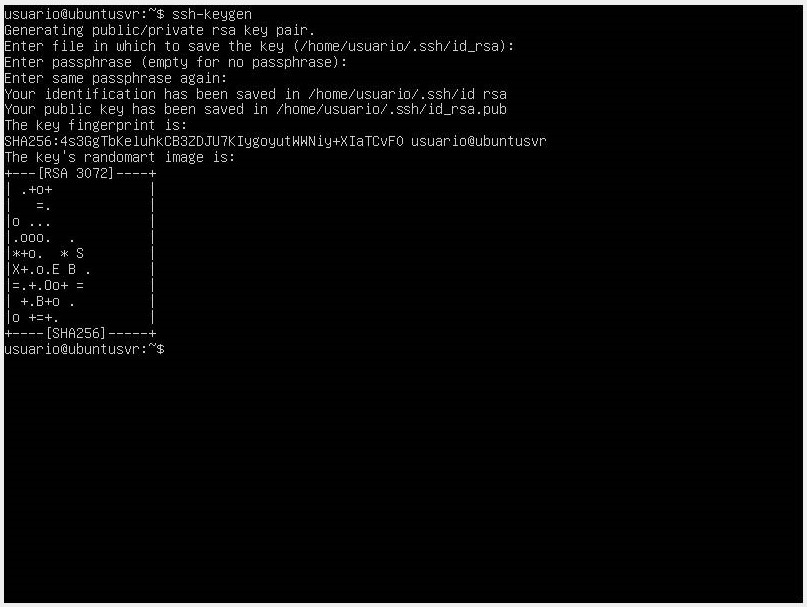
- Create your public and private keys with the command
ssh-keygen. It will then ask for the path where you want to store your SSH key. You can accept the default path. It will then ask for a passphrase, which adds an extra layer of
security to prevent unauthorized login.
-
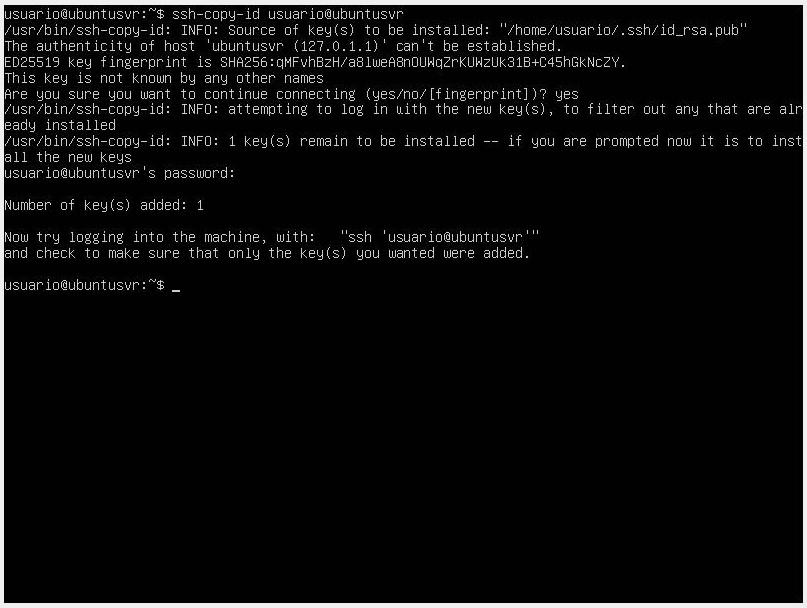
The next step is to copy the public key to our server using the ssh-copy-id tool with the command
ssh-copy-id <username>@<remote_host>. -
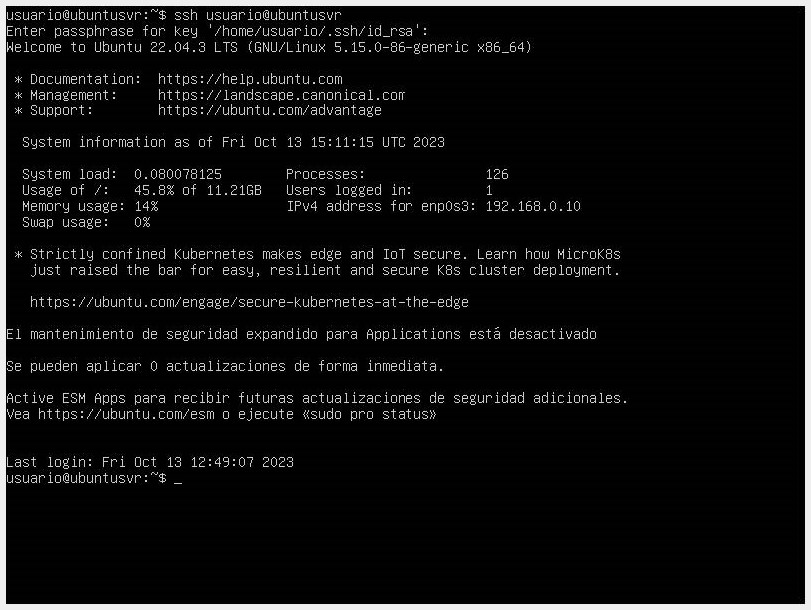
Proceed to connect to your SSH user with the command
ssh <username>@<hostname>. Once the command is entered, it will ask for the passphrase. Key-based authentication is successfully performed. We can further secure our system by disabling password authentication.
- Even though we have the SSH account configured, password-based authentication is still active. So we will make a change in the file located at
/etc/ssh/sshd_configwith our code editor. - Locate the PasswordAuthentication directive and activate it by removing the #. Ensure that the directive's value is no.
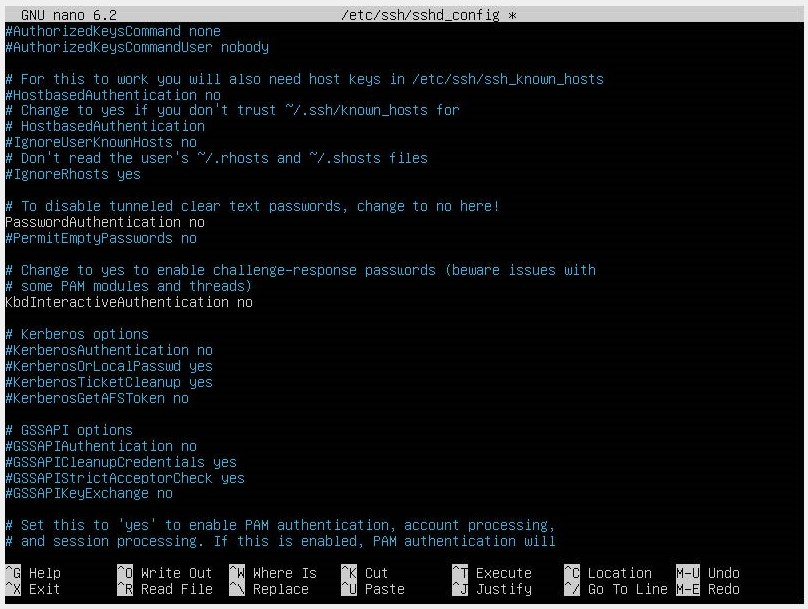
- Restart the SSH service with the command
systemctl restart ssh.
Configuring System Audit Logs
Configuring audit logs, also known as logs, is an essential practice in system administration to monitor and record important events of the operating system and applications. These logs provide valuable information for troubleshooting, intrusion detection, and tracking activities on the system.
In Linux, audit logs are located in the /var/log directory and contain detailed information about various aspects of the system, such as system startup and shutdown, kernel errors, network activities, application logs, and more.
The configuration of audit logs is done through the logging daemon configuration file, which may vary depending on the Linux distribution used. In distributions like Ubuntu and Debian, the main configuration file is /etc/rsyslog.conf, while in distributions like Red Hat and CentOS, /etc/rsyslog.d/*.conf is used to configure the logs.
In these configuration files, you can specify which events you want to log and where you want to store the logs. You can define rules to filter specific events, set logging levels (such as information, warning, or error), and redirect logs to specific files or send them to a centralized logging server.
⚠️ It is important to balance the amount of information logged with the available storage capacity when configuring audit logs. Logging too many events can quickly fill up disk space and make it difficult to analyze logs. On the other hand, logging too few events can miss important information for detecting problems or suspicious activities.
In addition to configuring audit logs, it is important to regularly monitor and analyze the logs to identify potential issues or malicious activities. You can use commands and tools like "grep" or "awk" to search for specific events in the logs or use more advanced log monitoring and analysis tools like "Logstash" or "Splunk".